基于SpringBoot+WebSocket无DB实现在线聊天室(附源码)
0 项目说明
0.1 样例展示

0.2 源码地址
GitHub:https://github.com/ShiJieCloud/web-chat
Gitee:https://gitee.com/suitbaby/web-chat
GitCode:I’m Jie / web-chat · GitCode
1 WebSocket 简介
1.1 HTTP
常用的 HTTP 协议是一种无状态的、无连接的、单向的应用层协议。它采用了请求/响应模型。通信请求只能由客户端发起,服务端对请求做出应答处理。这种通信模型有一个弊端:HTTP 协议无法实现服务器主动向客户端发起消息。
这种单向请求的特点,注定了如果服务器有连续的状态变化,客户端要获知就非常麻烦。大多数 Web 应用程序将通过频繁的异步 AJAX 请求实现长轮询。轮询的效率低,非常浪费资源(因为必须不停连接,或者 HTTP 连接始终打开)。
HTTP 协议交互流程如下:

1.2 WebSocket
1.2.1 WebSocket 协议
为了实现服务器主动向客户端发起消息,WebSocket 产生了,WebSocket 是 HTML5 开始提供的一种在单个 TCP 连接上进行全双工通讯的协议。
WebSocket 协议有两部分:握手(基于 HTTP 协议)和数据传输:
来自客户端的握手,形式如下:
1
2
3
4
5
6
7
GET ws://localhost/chat
Host:localhost
Upgrade:websocket
Connection:Upgrade
Sec-websocket-Key:dGh1IHNhbXBsZSBub25jZQ==
Sec-WebSocket-Extensions:permessage-deflate
Sec-WebSocket-Version:13来自服务器的握手,形式如下:
1
2
3
4
5101 switching Protocols
Upgrade:websocket
Connection:Upgrade
Sec-Websocket-Accept:s3pPLMBiTxaQ9kYGzzhZRbK+xOo=
Sec-Websocket-Extensions:permessage-deflate
字段说明:
| 头名称 | 说明 |
|---|---|
| Connection:Upgrade | 标识该HTTP请求是一个协议升级请求 |
| Upgrade:WebSocket | 协议升级为WebSocket协议 |
| Sec-WebSocket-Version:13 | 客户端支持WebSocket的版本 |
| Sec-WebSocket-Key: | 客户端采用base64编码的24位随机字符序列,服务器接受客户端HTTP协议升级的证明。要求服务端响应一个对应加密的sec-WebSocket-Accept头信息作为应答 |
| Sec-WebSocket-Extensions | 协议扩展类型 |
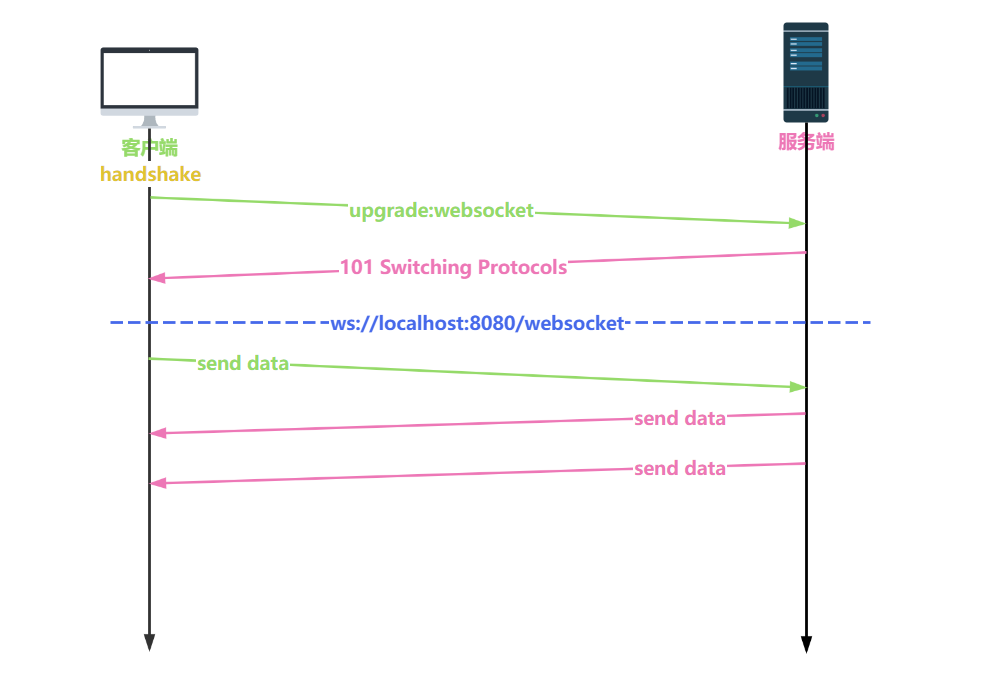
1.2.2 WebSocket 交互
WebSocket 协议客户端服务端交互流程如图:
2 使用教程
2.1 客户端(浏览器)
2.1.1 WebSocket 对象
实现 WebSocket 的 Web 浏览器将通过 WebSocket 对象公开所有必需的客户端功能(主要指支持HTML5的浏览器)。
使用以下方式创建 WebSocket 对象:
1 | var ws = new Websocket(url); |
参数 url 格式说明:ws://ip地址:端口号/资源名称,例如:let ws = new WebSocket("ws://localhost:8080/wechat")
2.1.2 WebSocket 事件
WebSocket 对象的相关事件
| 事件 | 事件处理程序 | 描述 |
|---|---|---|
| open | websocket对象.onopen | 连接建立时触发 |
| message | websocket对象.onmessage | 客户端接收服务端数据时触发 |
| error | websocket对象.onerror | 通信发生错误时触发 |
| close | websocket对象.onclose | 连接关闭时触发 |
2.1.3 WebSocket 方法
WebSocket 对象的相关方法:
| 方法 | 描述 |
|---|---|
| send() | 使用连接发送数据 |
2.2 服务端(JAVA)
Tomcat 的 7.0.5 版本开始支持 WebSocket,并且实现了 Java WebSocket 规范(JSR356)。Java WebSocket 应用由一系列的WebSocketEndpoints组成。Endpoint 是一个 Java 对象,代表 WebSocket 链接的一端,对于服务端,我们可以视为处理具体 WebSocket 消息的接口,类似一个 Controller 处理 HTTP 请求一样。
我们可以通过使用编程式或注解的方式定义 Endpoint。
2.2.1 编程式
第一种是编程式,即继承 javax.websocket.Endpoint 类并实现其方法。
1 | public abstract class Endpoint { |
2.2.2 注解式
第二种是注解式,即定义一个 PoJo 类,在类上添加 @ServerEndpoint 注解,标识该类为 Endpoint 实例。
Endpoint 实例会在 WebSocket 握手时创建,并在客户端与服务端链接过程中长时间有效,最后在链接关闭时结束。在 Endpoint 接口中明确定义了与其生命周期相关的方法,规范实现者确保生命周期的各个阶段调用实例的相关方法。生命周期方法如下:
| 方法 | 含义描述 | 注解 |
|---|---|---|
| onClose | 当会话关闭时调用。 | @OnClose |
| onOpen | 当开启一个新的会话时调用,该方法是客户端与服务端握手成功后调用的方法。 | @onOpen |
| onError | 当连接过程中异常时调用。 | @OnError |
2.2.3 服务端接收客户端数据
- 编程式:通过为
javax.websocket包下的Session对象添加MessageHandler消息处理器来接收消息 - 注解式:定义Endpoint时,可以在PoJo类上添加
@OnMessage注解指定接收消息的方法。
2.2.4 服务端发送数据给客户端
发送消息则由RemoteEndpoint完成,其实例由Session维护,根据使用情况,我们可以通过javax.websocket包下的Session对象的getBasicRemote()获取同步消息发送的实例,然后调用其sendXxx()方法就可以发送消息,可以通过Session.getAsyncRemote获取异步消息发送实例。
3 聊天室实现
3.1 页面布局
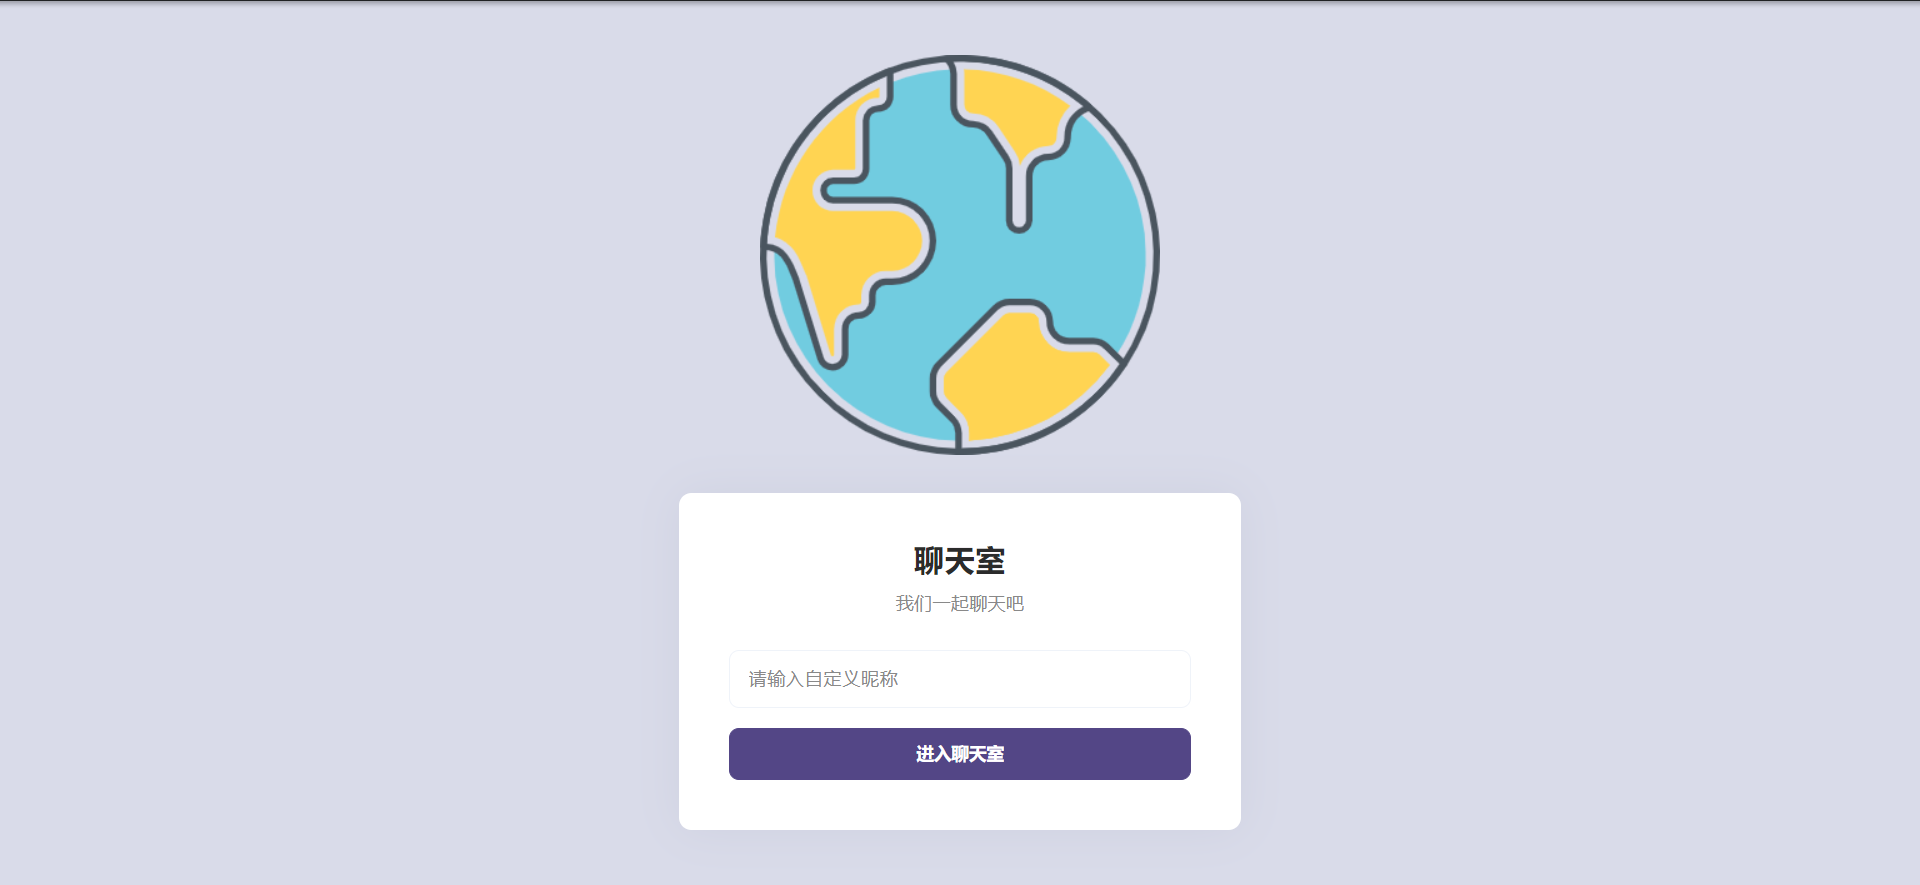
3.1.1 登录页面
用户输入昵称即可登录聊天室
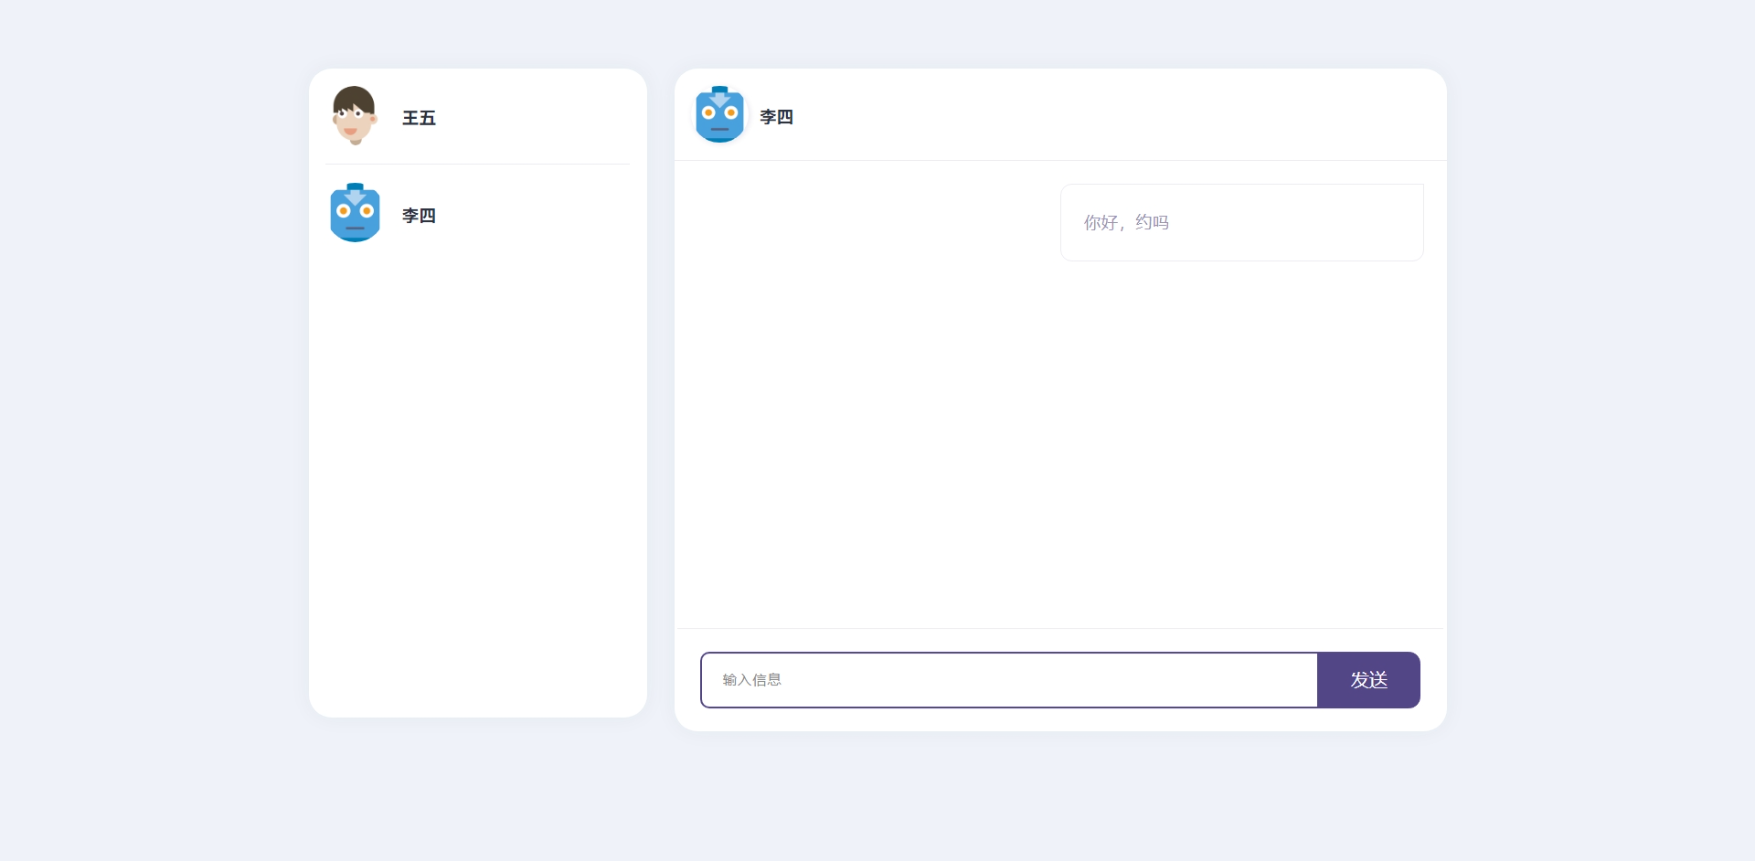
3.1.2 聊天界面
聊天室主界面左部分为用户列表,显示聊天室所有在线用户,右部分为聊天区,包含聊天记录和消息输入框
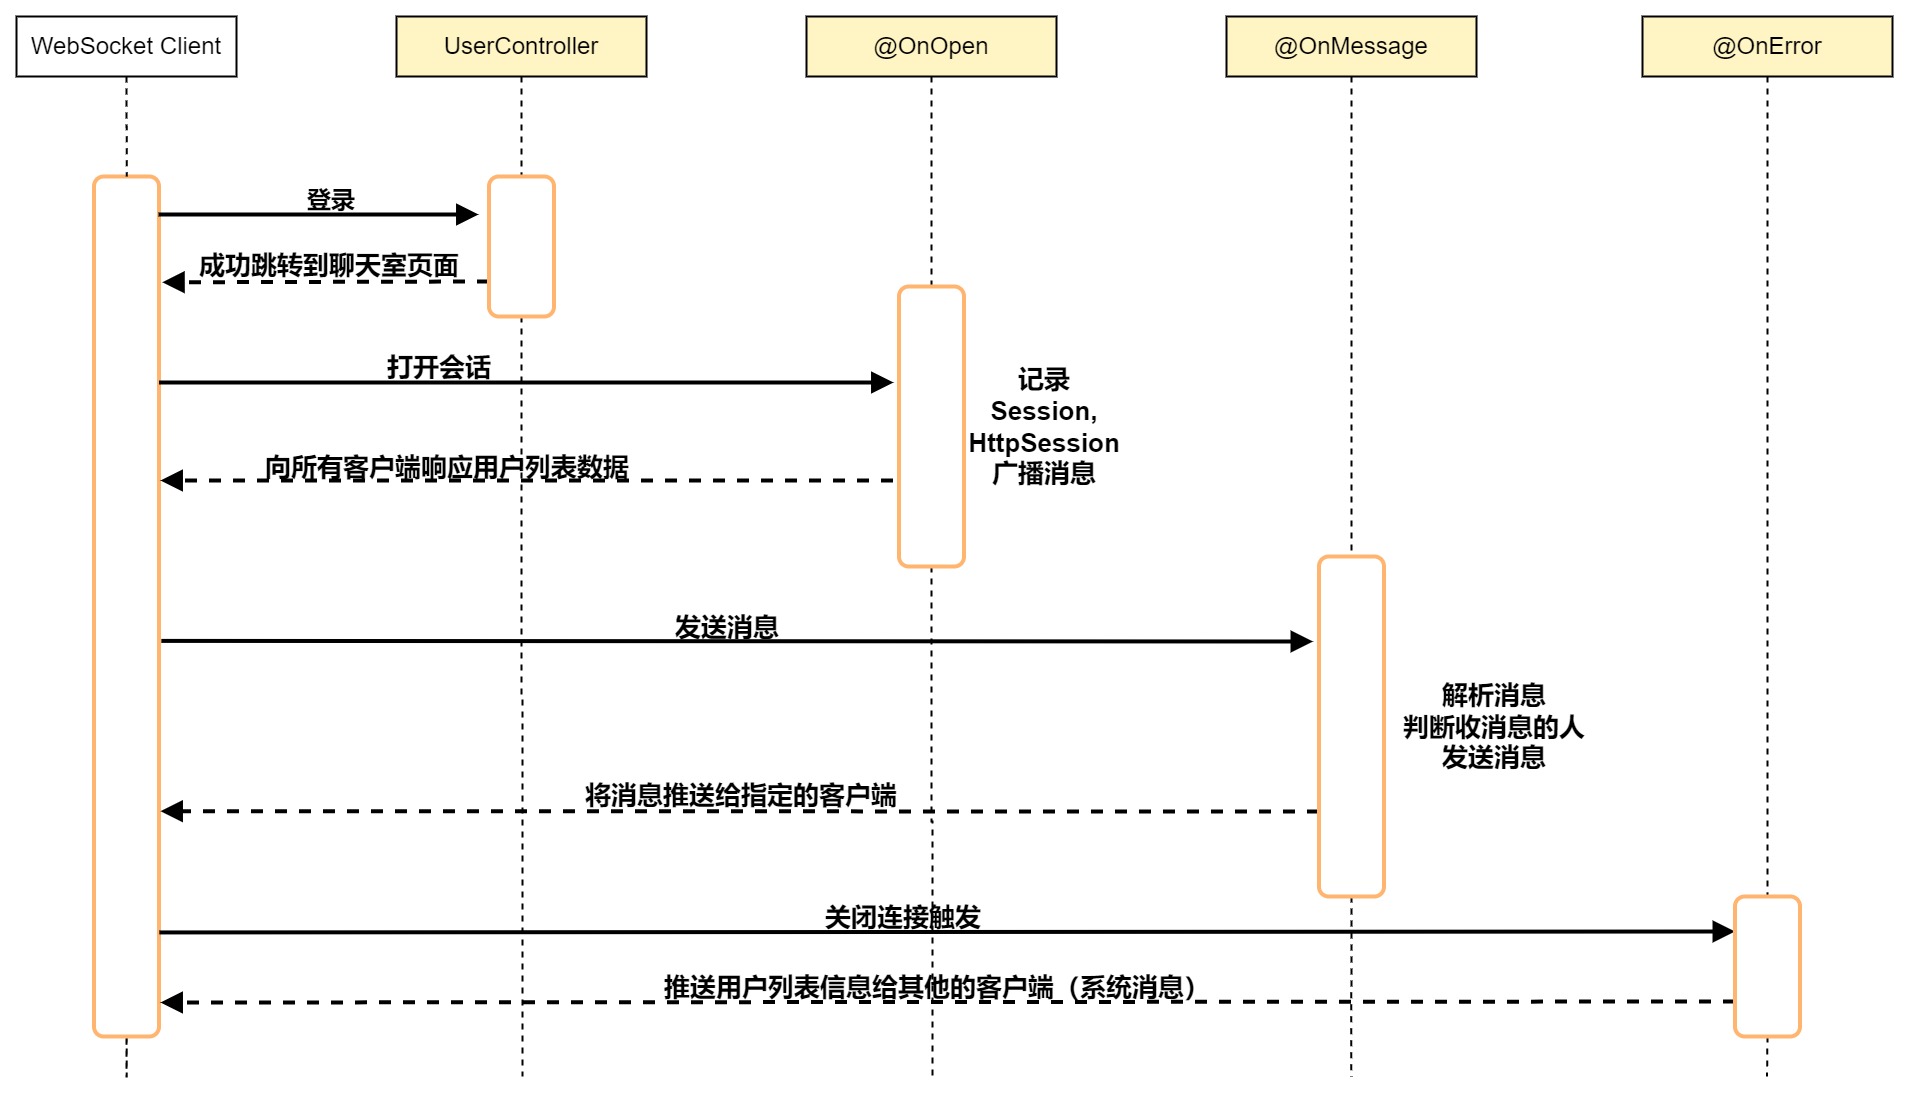
3.2 实现流程
聊天室项目,WebSocket 工作流程图如下:
3.3 WebSocket 消息格式
客户端→服务端
1
2
3
4{
"toName":"张三",
"message":"你好"
}服务端→客户端
系统消息格式
1
2
3
4
5
6
7
8{
"isSystem":true,
"status":true,
"fromName":null,
"message":[
"李四","王五"
]
}推送聊天消息格式
1
2
3
4
5
6{
"isSystem":false,
"status":false,
"fromName":"张三",
"message":"你好"
}
3.4 工程创建
3.4.1 创建项目
创建一个 SpringBoot 项目,导入以下依赖:
1 | <!--web 依赖--> |
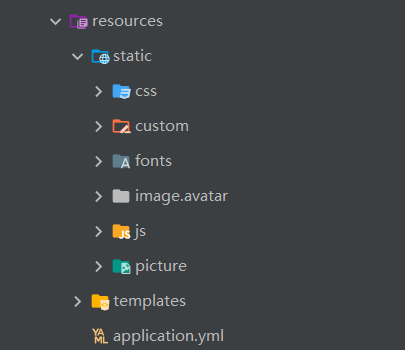
3.4.2 引入静态资源文件
3.5 登录功能
3.5.1 HTML 代码
由于只需要用户输入昵称,所以使用最简单的 form 表单提交即可,Controller 接口为/chat,提交方式为 Post:
1 | <form class="theme-form" action="/chat" method="post"> |
3.5.2 Java 代码
在Controller中添加处理登录的方法,用于接收前端传来的登录请求。
1 |
|
3.6 聊天功能
3.6.1 Java 代码
创建 pojo 类
ChatEndPoint,在类上添加@ServerEndpoint注解,并指定 WebSocket 请求路径。在类中创建onOpen()、onMessage()、onClose()方法,并标注对应的注解,用于处理对应的WS事件:1
2
3
4
5
6
7
8
9
10
11
12
13
14
15
16
17
18
19
20
21
22
23
24
25
26
27
28
public class ChatEndPoint {
/**
* 连接建立时被调用
*/
public void onOpen(Session session, EndpointConfig config) {
}
/**
* 接收到客户端发送的数据时被调用
*/
public void onMessage(String message, Session session) {
}
/**
* 连接关闭时被调用
*/
public voidonClose(Session session) {
}
}我们需要在
ChatEndPoint对象中添加HttpSession成员变量,用于取出登录逻辑中存入的用户id1
2// 声明一个httpSession对象,从中获取登录用户id
private HttpSession httpSession;再声明一个
javax.websocket包下的Session对象,通过该对象可以调用方法向指定的客户端(用户)发送消息1
private Session session;
因为每一个客户端都会对应一个
ChatEndPoint对象,所以我们需要使用集合将所有客户端的ChatEndPoint对象保存起来,方便后续对指定用户单独操作1
2// 用Map集合存储所有客户端对应的ChatEndPoint对象
private static Map<String, ChatEndPoint> onlineUsers = new ConcurrentHashMap<>();接下来我们需要实现
onOpen()方法,在方法体中完成 WebSocket 连接建立后的需要执行的操作逻辑:- 保存当前WS Session对象
- 保存HTTPSession 对象
- 将当前
ChatEndPoint对象存储到Map集合中 - 遍历Map集合,调用
ChatEndPoint对象的 WebSocket Session 成员变量的sendText()方法将当前所有在线用户推送给所有客户端,如:chatEndPoint.session.getBasicRemote().sendText(message)
1
2
3
4
5
6
7
8
9
10
11
12
13
14
15
16
17
18
19
20
public void onOpen(Session session, EndpointConfig config) {
//将局部Session对象赋值给成员session
this.session = session;
//获取httpSession对象
HttpSession httpSession = (HttpSession)config.getUserProperties().get(HttpSession.class.getName());
this.httpSession = httpSession;
String userId = (String) httpSession.getAttribute("loginUserId");
System.out.println(userId+"登录聊天室...."+HttpSession.class.getName());
//将当前 ChatEndPoint 对象存储到onlineUsers Map中
onlineUsers.put(userId, this);
//将当前在线用户的用户名推送给所有的客户端
//1.生成系统消息
String message = MessageUtils.getMessage(true, true,null, UserDb.userMap.values());
//2.调用方法推送消息
broadcastAllUsers(message);
}由于在聊天室项目中,当用户向另一个用户发送消息时,客户端才会向服务端发送消息,所以在
onMessage()方法中,只实现转发消息的逻辑即可:- 将客户端传来的JSON字符串格式的数据转为对象
- 获取需要转发的用户id
- 获取需要向用户转发的消息
- 通过用户id从Map集合中获取客户端对应的
ChatEndPoint对象,调用sendText()方法将消息发送
1
2
3
4
5
6
7
8
9
10
11
12
13
14
15
16
17
18
19
20
21
22
23
24
25
26//将消息转发送给指定用户
public void onMessage(String message, Session session) {
try {
//将message的json格式转为message对象
ObjectMapper mapper = new ObjectMapper();
Message mess = mapper.readValue(message, Message.class);
//获取接收数据
String toUserId = mess.getToUserId();
String data = mess.getMessage();
//获取当前登录的用户
String loginUserId = (String) httpSession.getAttribute("loginUserId");
//生成推送给用户的消息格式
String resultMessage = MessageUtils.getMessage(false, false, loginUserId, data);
//使用指定用户的session对象发送消息给指定用户
onlineUsers.get(toUserId).session.getBasicRemote().sendText(resultMessage);
} catch (JsonProcessingException e) {
e.printStackTrace();
} catch (IOException e) {
e.printStackTrace();
}
}当用户关闭浏览器时,我们需要在
onClose()中将用户下线的消息发送给客户端1
2
3
4
5
6
7
8
9
10
11
12
13
14
15
16
17
18
public void onClose(Session session) {
String loginUserId = (String) httpSession.getAttribute("loginUserId");
System.out.println(loginUserId + "WS连接关闭了....");
//移除用户Session
onlineUsers.remove(loginUserId);
//移除用户昵称
UserDb.userMap.remove(loginUserId);
//通知所有客户端用户下线
Set<String> set = new HashSet<>();
set.add(loginUserId);
//1.生成系统消息
String message = MessageUtils.getMessage(true,false, null, set);
//2.调用方法推送消息
broadcastAllUsers(message);
}服务端的主要代码已经完成,除此之外,我们还需要添加一些配置,否则我们编写的WebSocket并不会起到作用。
我们需要将 ServerEndpointExporter 的实例添加到Spring容器中,ServerEndpointExporter实例会自动扫描所有的服务器端点,并添加所有带有 @ServerEndpoint 注解的类
1
2
3
4
public ServerEndpointExporter serverEndpointExporter(){
return new ServerEndpointExporter();
}注:如果使用的是外置的 Tomcat 容器,则不需要自己提供 ServerEndpointExporter,因为它将由 Tomcat 容器自己提供和管理。
假如我们启动项目,此时会报空异常,因为我们在处理用户登录的逻辑中,将登录用户的id存储在HttpSession中,而我们在处理WebSocket连接建立后的
onOpen()中,用EndpointConfig对象的getUserProperties()去获取存储的HttpSession对象,因为我们没有将HttpSession存储到EndpointConfig中,所以获取不到,返回Null。我们需要重写
ServerEndpointConfig.Configurator类的modifyHandshake()方法,通过HandshakeRequest对象获取我们需要的HttpSession,存储到ServerEndpointConfig中,才能通过getUserProperties()去获取存储的HttpSession对象:1
2
3
4
5
6
7
8
9
public class GetHttpSessionConfigurator extends ServerEndpointConfig.Configurator {
public void modifyHandshake(ServerEndpointConfig sec, HandshakeRequest request, HandshakeResponse response) {
HttpSession httpSession = (HttpSession) request.getHttpSession();
//将httpsession对象存储到配置对象ServerEndpointConfig中
sec.getUserProperties().put(HttpSession.class.getName(),httpSession);
}
}其中ServerEndpointConfig 接口继承了 EndpointConfig 接口,源码如下:
1
2
3public interface ServerEndpointConfig extends EndpointConfig{
······
}
3.6.2 HTML 代码
在页面上使用
ul li标签显示聊天室用户列表1
2
3<ul class="list custom-scrollbar" id="chat-user-list">
<!--用户列表-->
</ul>显示正在聊天的用户信息:用户头像、用户昵称
1
2
3
4
5
6
7
8
9<div class="d-flex chat-header clearfix">
<!--用户头像-->
<img id="to-user-avatar" class="rounded-circle" src="/static/image/avatar/avatar-1.png">
<div class="flex-grow-1">
<div class="about">
<span class="name" id="to-user-name">用户昵称</span>
</div>
</div>
</div>聊天记录区域
1
2
3<ul id="chat-note">
<!--聊天记录-->
</ul>信息输入区域
1
2
3
4
5
6
7<div class="input-group text-box">
<input class="form-control input-txt-bx"
id="message-to-send" type="text"
name="message-to-send"
placeholder="输入信息">
<button id="send-message" class="btn btn-primary input-group-text" type="button">发送</button>
</div>
3.6.3 JS 代码
当点击左侧用户列表的用户头像时,显示与该用户聊天的聊天界面
- 设置用户头像、用户昵称
- 显示聊天界面
- 从
sessionStorage中获取到与该用户的聊天记录并显示到聊天界面
1
2
3
4
5
6
7
8
9
10
11
12
13
14
15
16
17
18
19/*切换聊天界面*/
function open_chat(toUId,toUname,toAUrl) {
//设置聊天区用户信息
toUserAvatar.attr('src',toAUrl);
toUserName.text(toUname);
//显示聊天框
$('.call-chat-body').removeClass('fade');
toUserId = toUId;
//获取历史聊天记录
let chatData = sessionStorage.getItem(toUId);
if (chatData != null) {
//将聊天记录渲染到聊天区
$('#chat-note').html(chatData);
} else {
$('#chat-note').html("");
}
}注:聊天记录存储到
sessionStorage,key为聊天用户的id,非当前登录用户的id,获取聊天记录时通过用户id获取即可创建 WebSocket 对象,指定 URL,
url格式为:ws://ip地址:端口号/资源名称1
2//创建ws对象
let ws = new WebSocket("ws://localhost:8080/wechat");注:
/wechat为服务端的@ServerEndpoint(value = "/wechat")的 value 值绑定 WebSocket 接收服务端发送数据的
onmessage事件。- 通过事件对象获取服务端发送的数据并转为JSON对象。
- 如果是系统消息,则进一步判断是同步在线用户还是通知用户下线:
- 同步在线用户:即遍历用户列表拼接HTML字符串,渲染到页面中。
- 通知用户下线:则将该用户从用户列表中移除,如果有用户正和该用户聊天,则隐藏聊天界面。
- 如果不是系统消息,则为转发用户发送的消息,首先判断当前是否正在与发消息的人聊天:
- 如果是,则直接渲染到聊天界面中,并存储到
sessionStorage中。 - 如果不是,则直接存储到
sessionStorage中。
- 如果是,则直接渲染到聊天界面中,并存储到
1
2
3
4
5
6
7
8
9
10
11
12
13
14
15
16
17
18
19
20
21
22
23
24
25
26
27
28
29
30
31
32
33
34
35
36
37
38
39
40
41
42
43
44
45
46
47
48
49
50
51
52
53
54
55
56
57
58//接收到服务端推送的消息后触发
ws.onmessage = function (e) {
//获取服务端推送的消息
let dataStr = e.data;
//将dataStr转为json对象
let res = JSON.parse(dataStr);
//判断是否是系统消息
if (res.system) {
//系统消息
//用户列表
let message = res.message;
if (res.status) {
//用户在线,拼接html
let str = "";
for (let user of message) {
let userId = user.id;
let username = user.username;
let userAvatarUrl = user.avatarUrl;
if (userId != loginUserId) {
str += "<li id='" + userId + "' class=\"clearfix\"><div class=\"d-flex\"><img class=\"rounded-circle user-image\" src='" + userAvatarUrl + "' <div class=\"flex-grow-1\">" +
"<div class=\"about\"><span class=\"name\" onclick=\"open_chat('" + userId+"','"+username+"','"+userAvatarUrl + "')\">" + username + "</span></div></div></div></li>";
}
}
//添加html
chat_user_list.html(str);
} else {
//下线用户
for (let id of message) {
$("#" + id).remove()
if(toUserId==id){
$('.call-chat-body').addClass('fade');
}
}
}
} else {
//不是系统消息
let fromUserId = res.fromUserId;
let message = res.message;
let str = "<li><div class=\"message my-message\">"+message+"</div></li>";
//是否正在与发消息的人聊天
if(toUserId==fromUserId){
//是,显示
$('#chat-note').append(str);
}
//存储
let chatData = sessionStorage.getItem(fromUserId);
if (chatData != null) {
chatData+=str;
} else {
chatData=str;
}
sessionStorage.setItem(fromUserId,chatData);
}
}点击【发送】按钮,发送消息。
- 获取用户输入的消息内容。
- 渲染到聊天界面中。
- 将消息数据转为JSON格式的字符串,并调用WebSocket 的send()方法将数据发送给服务端,服务端在收到消息后会调用对应的
onMessage()方法进行处理。
1
2
3
4
5
6
7
8
9
10
11
12
13$('#send-message').click(function () {
//获取输入的内容
let data = $('#message-to-send').val();
//清空输入框内容
$('#message-to-send').val("");
let str = "<li class=\"clearfix\"><div class=\"message other-message\" style='float:right'>" + data + "</div></li>";
$('#chat-note').append(str);
//推送消息给服务器
let json = {"toUserId": toUserId, "message": data}
ws.send(JSON.stringify(json));
})到此,聊天室项目就结束了,使用Maven打包成jar包部署到服务器上试试吧😄😄😄。
4 Docker 部署服务器
4.1 修改 WS URL 地址
我们需要修改
JS代码中的 WebSocket 地址,将localhost:8080改为服务器的公网IP和服务端的端口号,否则客户端无法正确链接到服务端(这里我将服务端的端口改为80端口,浏览器访问时无需在 IP 地址后添加端口号)。1
2//创建ws对象
let ws = new WebSocket("ws://43.143.180.243:80/wechat");
4.2 Maven 打包
在 Pom.xml 文件中添加
spring-boot-maven-plugin插件依赖:1
2
3
4
5
6
7
8<build>
<plugins>
<plugin>
<groupId>org.springframework.boot</groupId>
<artifactId>spring-boot-maven-plugin</artifactId>
</plugin>
</plugins>
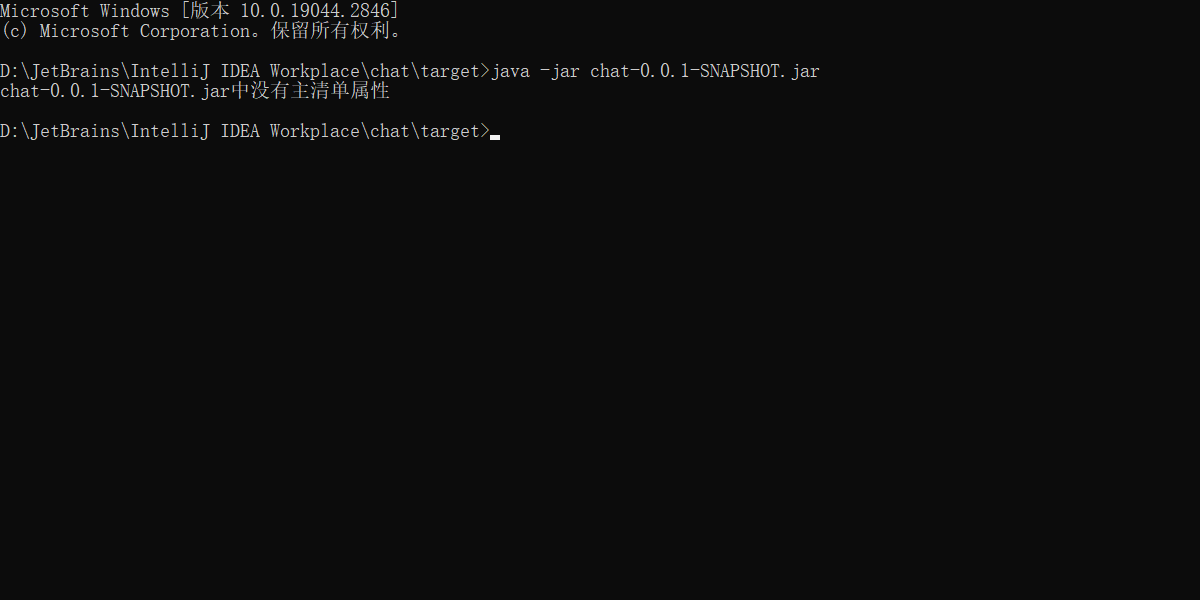
</build>否则打包运行时会出现没有主清单命令:

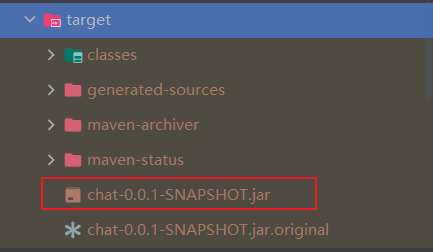
执行 Maven 的
install命令会将项目打包成 jar 包:进入jar包所在目录,使用cmd命令打开命令行,运行命令查看jar包能否在正常启动:
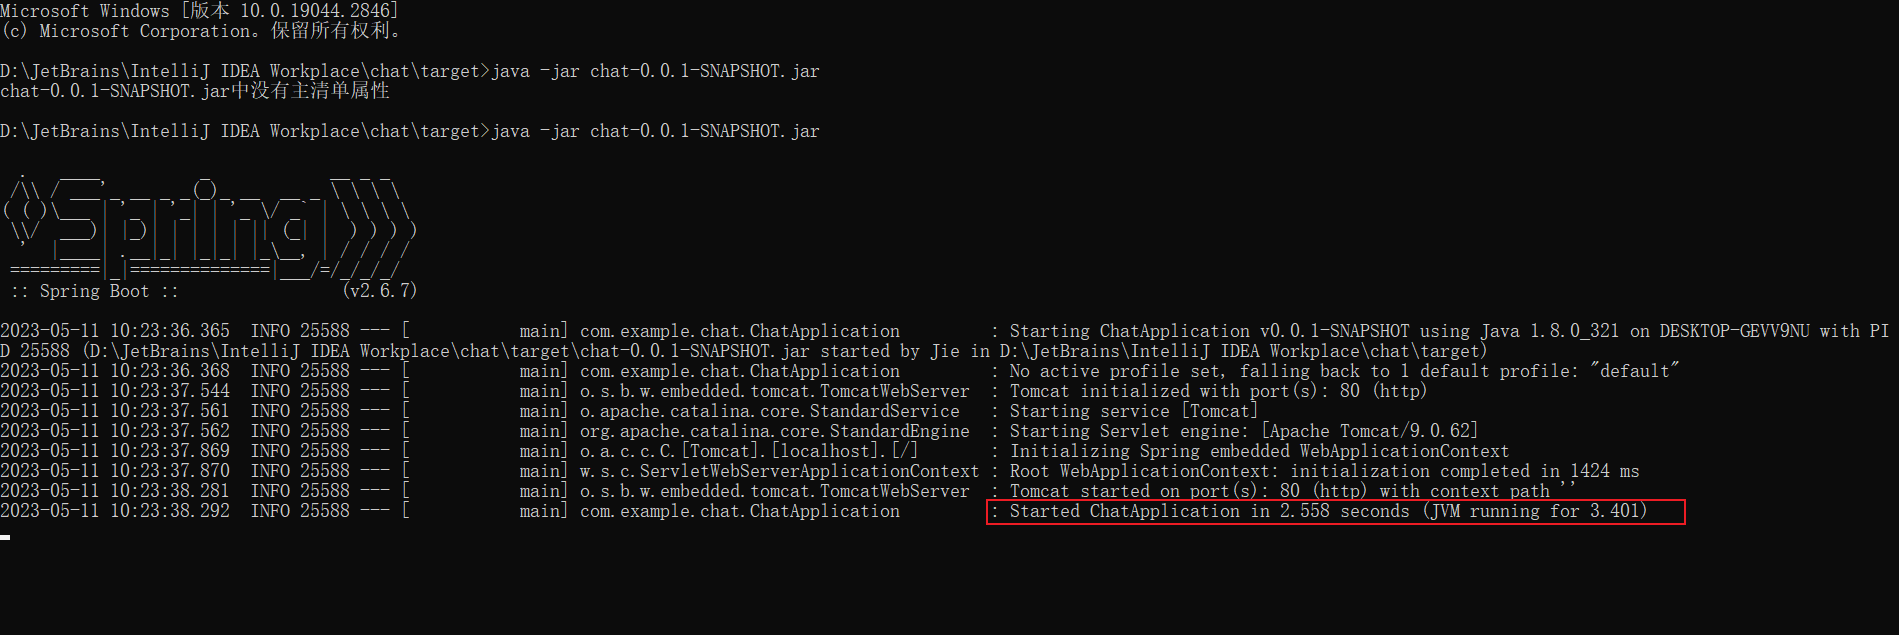
1
java -jar chat-0.0.1-SNAPSHOT.jar
输出以下内容,表示正常启动 :
4.3 Dockerfile 文件
创建一个名为 Dockerfile 的文件,添加以下内容:
1 | FROM jdk1.8 |
FROM jdk1.8:我们的项目需要java8环境,所以基于 jdk1.8 镜像部署,jdk1.8 镜像构建教程可以查看这篇文章:https://zsjie.blog.csdn.net/article/details/122202628。ADD chat-0.0.1-SNAPSHOT.jar chat-0.0.1-SNAPSHOT.jar:类似COPY命令,复制文件或者目录到容器。EXPOSE 80:声明容器需要使用的端口。ENTRYPOINT ["java","-jar","chat-0.0.1-SNAPSHOT.jar"]:类似 CMD 指令,这些命令行参数会被当作参数送给 ENTRYPOINT 指令指定的程序。
4.4 上传服务器
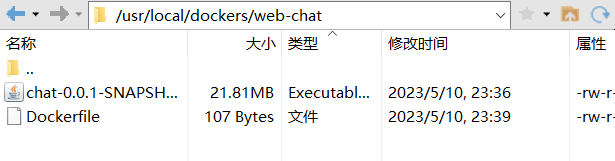
使用 XShell7 远程连接服务器,创建目录:
1 | mkdir -p /usr/local/dockers/web-chat |
使用 Xftp7 将项目的 jar 包和 Dockerfile 文件上传到目录下:
4.5 Docker 运行
使用 XShell7 远程连接服务器,将目录切换到 jar 包和 Dockerfile 文件所在的目录下,执行 build 命令构建镜像:
1
docker build -t='web-chat' .
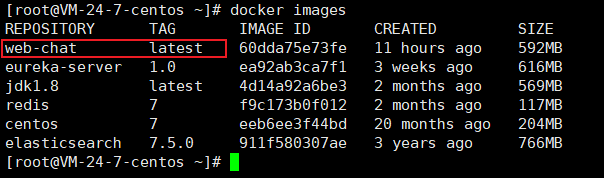
查看 Docker 下的镜像:
最后,我们只需要基于
web-chat镜像创建容器并运行即可:1
docker run -di --name=web-chat -p 80:80 web-chat
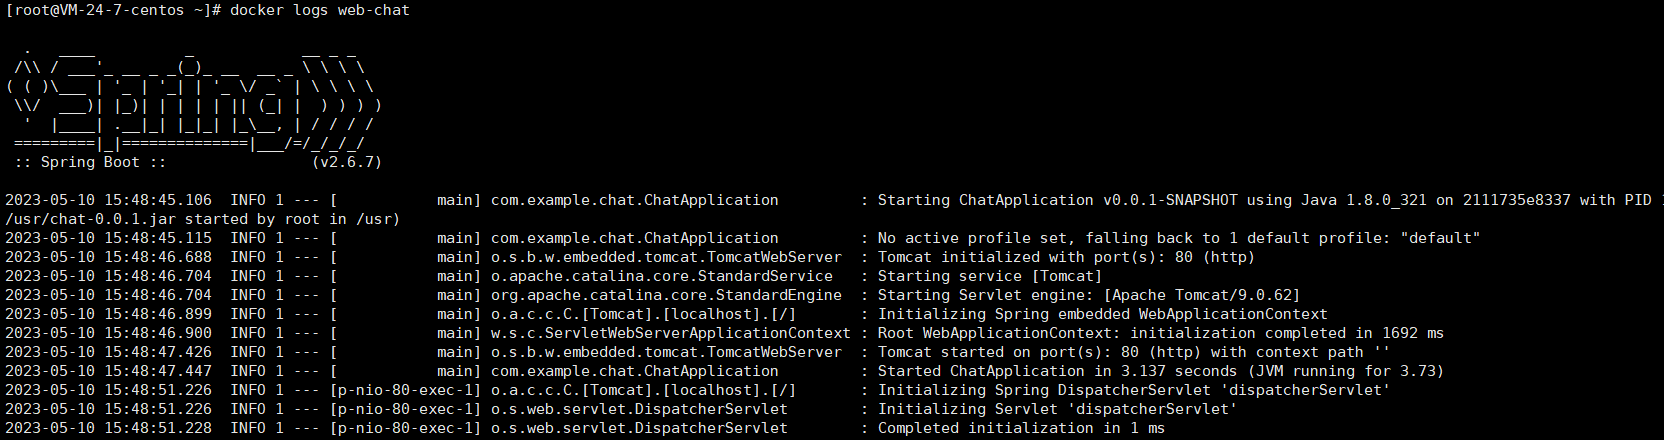
使用命令查看输出日志,项目已经成功运行了:
1
docker logs web-chat
4.6 项目结果
浏览器地址栏中输入服务器的ip地址访问项目:
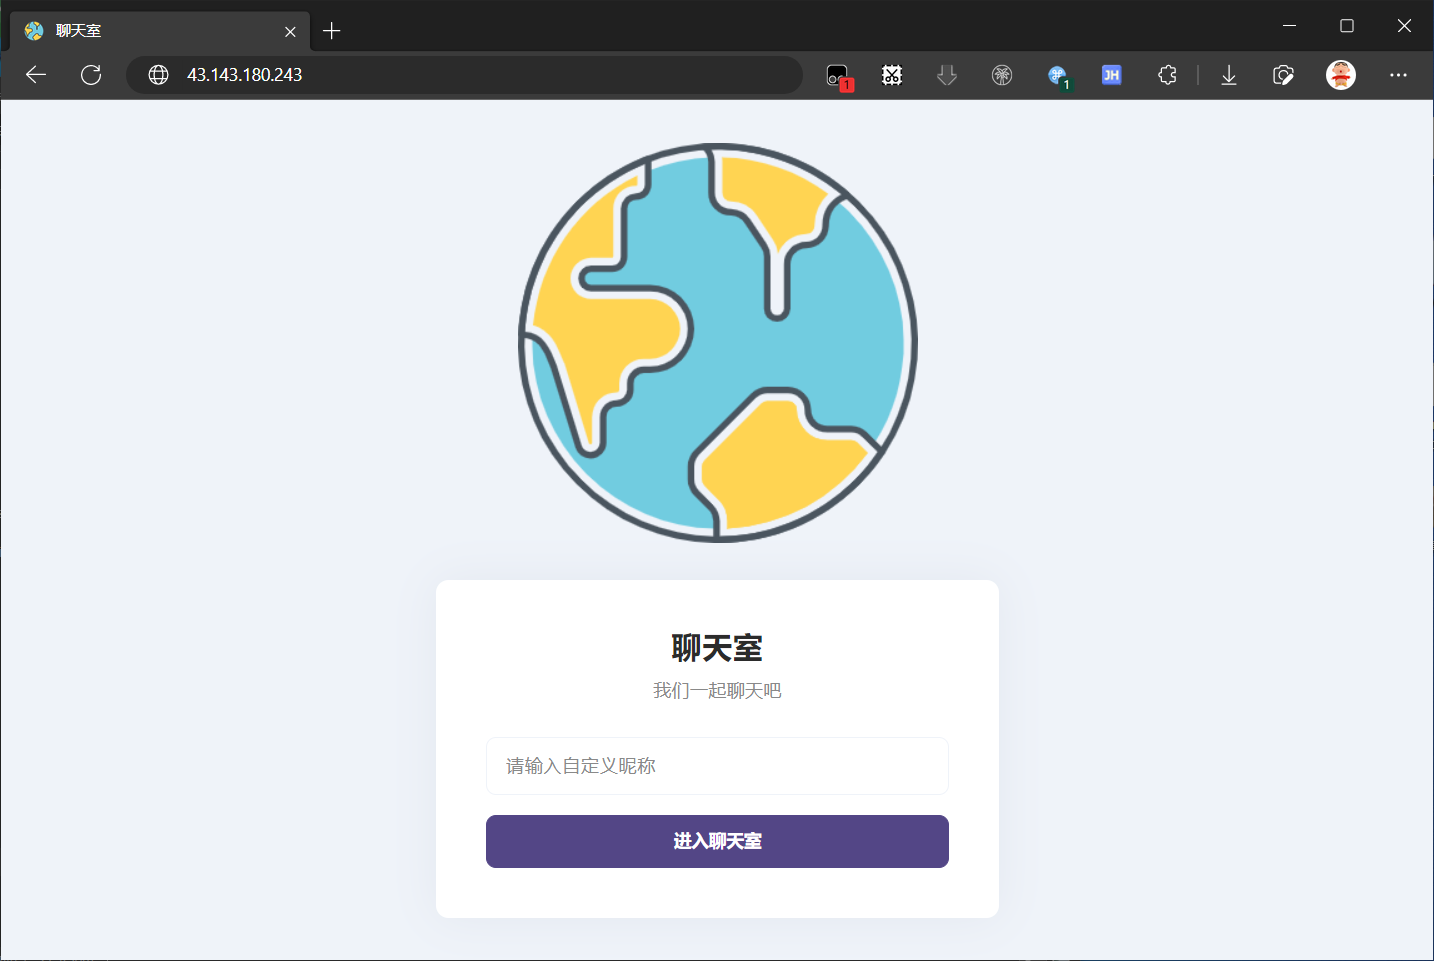
到此,我们的在线聊天室项目就完成了。